-
 1800 102 2999
- SMS ‘GPFLOOR’ to ‘+91 7827984548’
-


|
|
SMS ‘GPFLOOR’ to ‘+91 7827984548’ |
|

 Skirting
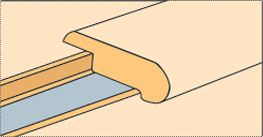 Stair Nose
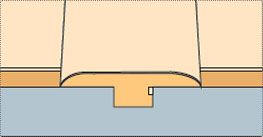 T-Profile
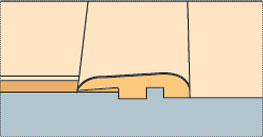 Reducer
 Beading